
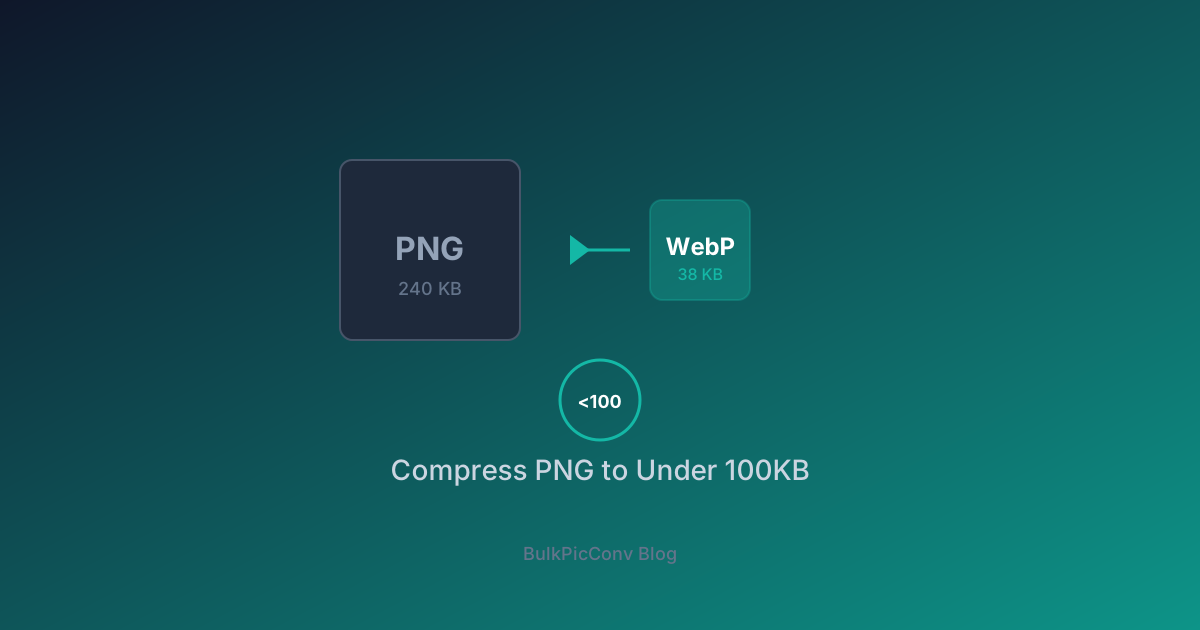
How to Compress PNG Images to Under 100KB
Why the 100KB Threshold Matters
A 100KB image downloads in under 100ms on a typical 4G connection. When your page has a dozen images, staying under 100KB each keeps total page weight manageable and your Core Web Vitals in the green. For product thumbnails, icons, and decorative graphics, 100KB is a realistic and effective target.
PNG is the go-to format for graphics with sharp edges, text, and transparency - but PNGs are often far larger than they need to be. This guide shows you how to compress PNG images to under 100KB without sacrificing visible quality.
Understanding PNG Compression
PNG uses lossless deflate compression. It never discards pixel data, which is why PNG is ideal for logos, screenshots, and UI elements - but also why files can balloon in size. The key to shrinking PNGs is reducing the amount of unique information the compressor has to encode.
Three Levers for Smaller PNGs
Technique 1: Reduce the Color Palette
A full-color PNG can use 16.7 million colors, but most graphics use far fewer. Converting a PNG to an 8-bit palette (256 colors) can cut file size by 60-80% with no visible difference for simple graphics.
| Image Type | Colors Needed | Savings |
| Logo (2-3 colors) | 16 | -85% |
| UI screenshot | 64-128 | -60% |
| Flat illustration | 128-256 | -50% |
| Detailed chart | 256 | -35% |
For photographs, palette reduction causes visible banding - use format conversion instead (see Technique 3).
Technique 2: Resize to Display Dimensions
The most common cause of oversized PNGs is serving a 2000×1500 image in a 300×225 container. Every extra pixel multiplies file size.
Before compressing, determine the actual display size:
Resize the PNG to the largest size you will ever display (accounting for retina displays - multiply by 2). Anything beyond that is wasted bytes.
Technique 3: Convert PNG to WebP Lossless
When you need to keep PNG's quality but shrink the file, WebP lossless is the answer. WebP lossless encoding is typically 20-30% smaller than PNG for identical visual output, and it supports transparency.
| Format | Same Logo | Same Screenshot | Transparency |
| PNG | 240KB | 480KB | Yes |
| WebP lossless | 175KB | 360KB | Yes |
| WebP lossy (q80) | 45KB | 95KB | Yes |
For most web use cases, WebP lossy at quality 80 is visually indistinguishable from the PNG original and lands well under 100KB.
The Batch Compression Workflow
Compressing PNGs one at a time is slow. Our PNG compressor handles batches in your browser:
The entire process runs locally using WebAssembly. Your files never leave your device - critical for proprietary graphics and client work.
Quality vs Size: Finding the Balance
Not every image needs to be under 100KB. Use this decision tree:
If a single image simply cannot go below 100KB without visible degradation (e.g., a detailed infographic), split it into smaller pieces or lazy-load it so it does not block initial render.
Real-World Example
A SaaS dashboard had 14 PNG icons averaging 180KB each (2.5MB total). After batch compression to WebP lossless at display size:
| Metric | Before | After | Improvement |
| Avg file size | 180KB | 38KB | -79% |
| Total icon weight | 2.5MB | 532KB | -79% |
| Icons under 100KB | 0 of 14 | 14 of 14 | 100% |
Every icon dropped below the 100KB target, and the visual quality was identical.
When to Keep PNG
PNG is still the right choice when:
For everything else on the web, converting PNG to WebP is the single most effective compression step. For more on compression strategies, see our image compression guide.
Start Compressing
Ready to get your PNGs under 100KB? Visit our free PNG compressor - batch process hundreds of images, choose lossless or lossy, resize on the fly, and download as a ZIP. No upload, no sign-up, no watermark. For e-commerce and CMS workflows, see our Shopify and WordPress optimization guide.
When PNG Compression Isn't Enough
If your PNG is still too large after compression:
Related Guides
Ready to optimize your images?
Try BulkPicConv — Free